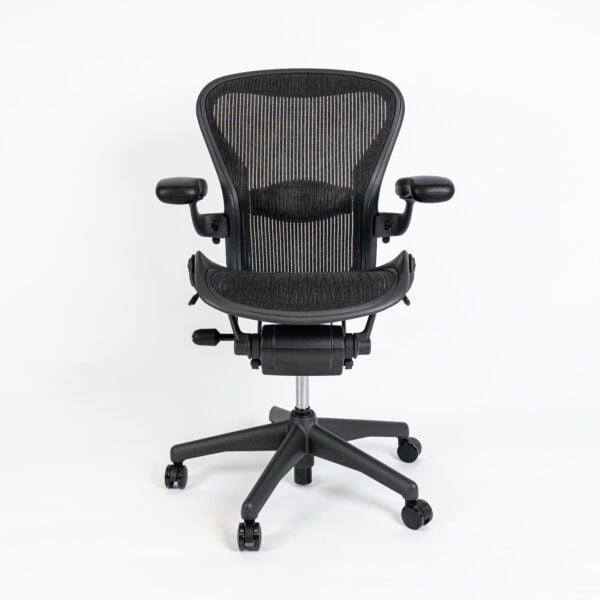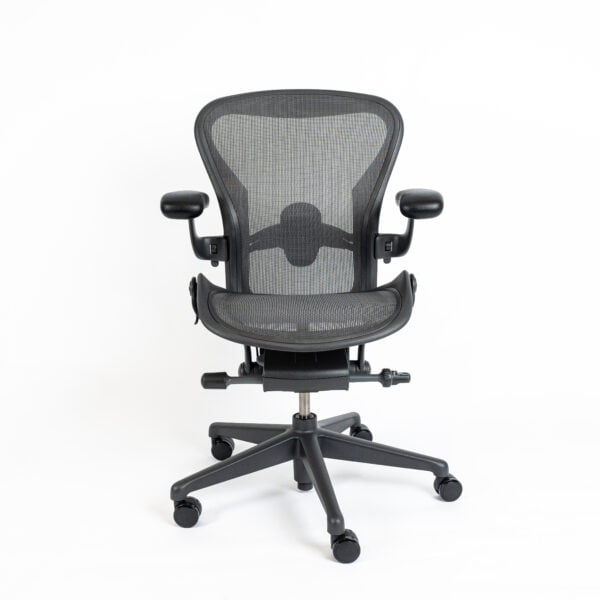
If you’re spending long hours at your desk, comfort is key. The Aeron Remastered Chair is renowned for its ergonomic excellence, but adding a headrest takes your sitting experience to the next level. Whether you’re looking to improve neck support or alleviate strain during prolonged work sessions, learning how to install, remove, or even make adjustments to your chair’s headrest can make a big difference in your daily comfort.
This guide is designed to walk you through the installation process step by step. From preparing your Aeron chair for a new headrest to troubleshooting common issues, you’ll find everything you need to know in simple, clear instructions. Let’s get started!
Understanding the Importance of a Chair Headrest
Adding a headrest to your office chair can enhance comfort, especially during long working hours. This accessory keeps your body aligned, reducing neck strain, and improves focus, helping you maintain the right posture. If you’re wondering how to make a headrest for a chair or choosing a compatible headrest model, it’s important to focus on compatibility and ergonomic benefits. An ideal headrest integration ensures both a perfect fit and the best possible ergonomic result.
Step-by-Step Guide to Installing the Aeron Remastered Chair Headrest
1. Gather the Required Tools and Components
Before installation, make sure you have the following:
- The headrest designed for the Aeron Remastered chair.
- A screwdriver or Allen wrench (depending on the headrest model).
- Instruction manual (often provided with the headrest).
- Most headrests come with pre-drilled holes and a mounting kit, making installation straightforward. If you’re unsure how to add a headrest to an office chair, follow the manufacturer’s manual carefully.
2. Prepare the Chair for Installation
Remove any objects or attachments from the chair’s backrest to ensure a clear working space. Adjust the chair to an upright position to provide better access to the mounting area.
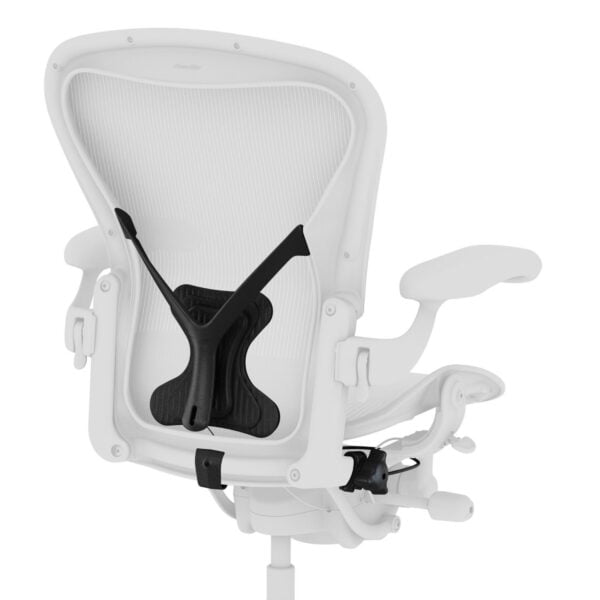
3. Attach the Mounting Bracket
- Locate the mounting points on the backrest frame.
Align the headrest’s mounting bracket with the backrest’s frame.
Secure the bracket using screws provided in the installation kit. Tighten the screws evenly to avoid misalignment.
4. Connect the Headrest
Once the bracket is secured, slide the headrest onto it. Some models might require locking it into place with additional screws or clips. If you’re unsure how to make a headrest for a chair work seamlessly, ensure the headrest is firmly attached and doesn’t wobble.
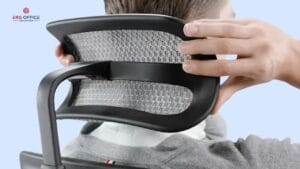
5. Adjust the Headrest
The headrest should be adjustable for height and angle. Position it so that it supports the natural curve of your neck. Test it by sitting in the chair and making adjustments as needed.
How to Add a Headrest to an Office Chair Without Pre-Drilled Holes?
If your chair doesn’t have pre-drilled holes or built-in mounting points, you can still add a headrest. Opt for a universal headrest attachment with adjustable straps or clamps.
- Secure the clamps around the chair’s backrest frame.
- Attach the headrest to the clamps and adjust it to your preferred position.
- Test its stability to ensure it remains in place during use.
DIY: How to Make a Headrest for Your Aeron Chair
For those who love a DIY project, creating your own headrest can be a rewarding experience. Here’s how you can make a functional and aesthetic headrest:
1. Materials You’ll Need
- Foam or cushioning material
- Fabric or leather for covering
- Plywood or a sturdy base
- Screws and a bracket for attachment
2. Designing the Headrest – Cut the foam into a shape that matches the contour of your neck and head. Use a sturdy base like plywood to provide support.
3. Making a Cover – Wrap the foam with fabric or leather to create a polished look. Secure the cover using a staple gun or sewing machine.
4. Attaching the Headrest – Use a custom bracket to attach your homemade headrest to the Aeron chair’s frame. Ensure the attachment is stable and ergonomic.
How to Make a Chair Headrest Cover
If your headrest doesn’t come with a cover or you want to customize it, making one is simple:
Materials Needed
- Fabric of your choice (preferably breathable and durable).
- Sewing machine or needle and thread.
- Measuring tape.
Steps
- Measure the dimensions of your headrest.
- Cut the fabric to size, leaving extra room for seams.
- Sew the edges together to create a snug fit.
- Add Velcro or elastic straps for easy attachment and removal.
How to Remove the Headrest from an Office Chair?
At times, you may need to remove the headrest for repairs or adjustments. Here’s how to do it:
1. Check the Attachment Points – Identify how the headrest is attached—whether it’s screwed in, clamped, or slid into place.
2. Use the Appropriate Tools
- For screws: Use a screwdriver or Allen wrench to loosen them.
- For clamps: Release the tension by adjusting the clamp knobs or levers.
- For slide-in headrests: Push or pull the headrest as per the manufacturer’s instructions.
3. Remove with Care
Hold the headrest securely while detaching it to prevent damage to the chair or headrest.
Tips for Using the Headrest on Your Chair Effectively
Proper use of the headrest ensures maximum ergonomic benefits:
- Adjust Height and Angle: A properly adjusted headrest will gently support the base of your head while resting against your neck and will never position your head in a forward direction.
- Maintain Proper Posture:Your shoulders should be completely relaxed when you sit back in the chair. The headrest should hold your neck in its natural resting position rather than distorting its shape.
- Take Breaks: You should not sit with the headrest in the same position for too long. Moving around regularly helps reduce stress.
Troubleshooting Common Issues
1. Headrest Feels Wobbly
- Make sure all screws and clamps are securely tightened.
- The mounting brackets must sit in proper alignment.
2. Headrest Doesn’t Stay in Position
- Check the adjustment mechanism for signs of deterioration and damage.
- Check for loose parts and decide between repairing or replacing faulty components.
3. Headrest Causes Discomfort
- Reevaluate its position. The location of your headrest may either be at the wrong height, at an improper angle, or it may be too low.
Benefits of Adding a Headrest to Your Chair
A well-installed headrest offers many benefits:
- Increased comfort: Sitting for long periods of time becomes more comfortable as the headrest supports the neck and shoulder muscles.
- Improved posture: Proper spinal positioning is created when you maintain natural spinal alignment.
- Increased productivity: A properly arranged chair seat helps maintain sustained focus during work.
- Customization: Custom communication features between the various headrest components of the chair allow the user to create the perfect fit for their needs.
Conclusion
Adding a headrest to your Aeron Remastered chair and similar workplace seats offers simple installation benefits that provide posture support as well as improved comfort. These guidelines show you how to install a commercial headrest with DIY instructions and detailed information on proper installation and use. Effective setup along with adjustment procedures allows you to achieve better seating ergonomics and work productivity.
If you follow these tips, you can be assured that the headrest will serve as a valuable item in your workspace.